")
If your Swiffer WetJet suddenly stops spraying and you’re standing there squeezing the handle like it owes you money, chances are the batteries are dead. The good news? Changing the batteries in a Swiffer WetJet is easy once you know where to look. The bad news? The battery compartment is not exactly obvious the first time.
Let’s walk through it in plain English, with a few real-world tips that actually help.
What Batteries Does a Swiffer WetJet Use?
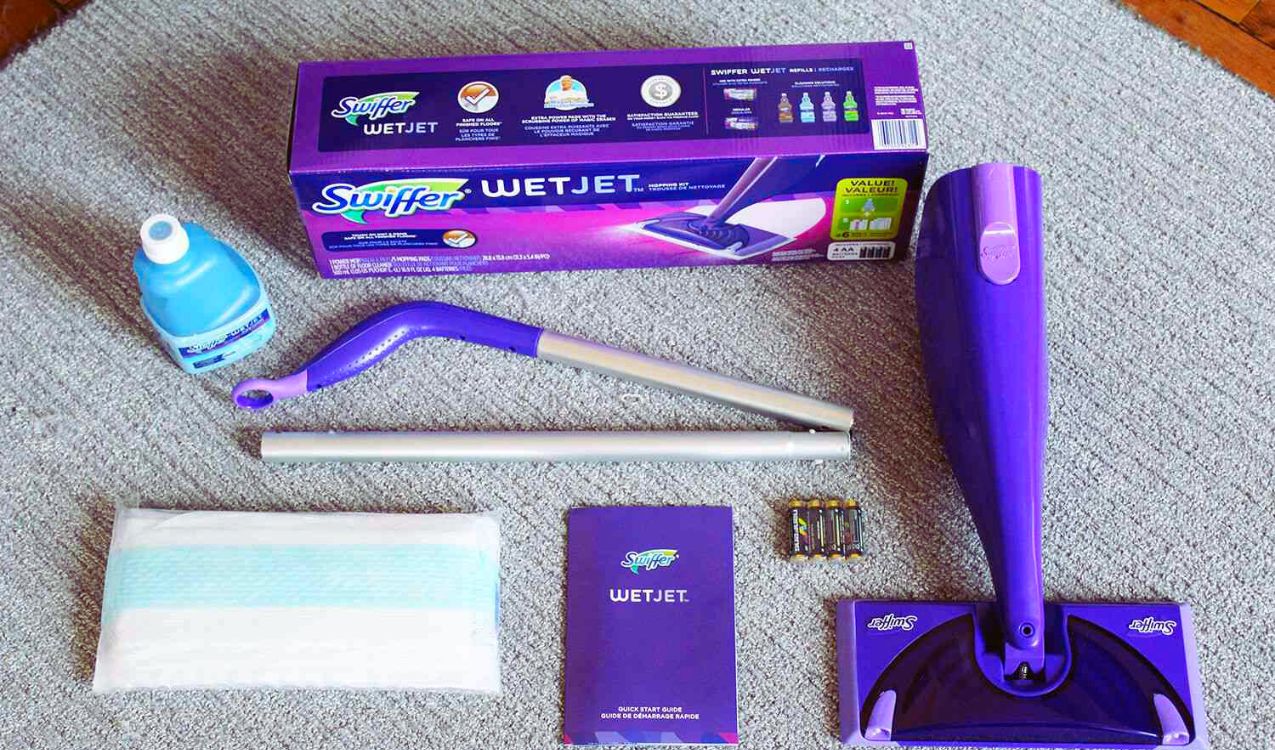
Most Swiffer WetJet models run on four AA alkaline batteries. Stick with name-brand alkalines if you can. Cheaper batteries tend to die faster, and WetJets are surprisingly picky about consistent power.
Rechargeables can work, but in my experience they don’t last as long and sometimes don’t deliver enough juice to keep the spray motor happy.
Where Is the Battery Compartment on a Swiffer WetJet?
This is where people usually get stuck.
The battery compartment is built into the handle, usually toward the lower front or back. On many newer models, the batteries sit inside a removable battery drawer instead of behind a traditional door.
Look for:
- A small finger notch or release tab (often purple)
- A seam running vertically along the handle
If you don’t see it right away, rotate the handle slowly and run your fingers along it. It’s there—you’re not imagining things.
Step-by-Step: How to Change Batteries in Swiffer WetJet
1. Remove the Cleaning Solution Bottle (If Needed)
On some models, the solution bottle blocks access to the battery compartment. Just press the release button and slide the bottle out. No tools required.
2. Open the Battery Compartment
Use your thumb to slide the release tab upward or pull the battery drawer straight out, depending on your model. It may feel stiff the first time. That’s normal.
If it doesn’t budge, don’t force it. Try adjusting the angle slightly and apply steady pressure instead of yanking.
3. Take Out the Old Batteries
Remove all four AA batteries. If you see white or green crust on them, that’s corrosion. Toss those batteries immediately.
Quick tip: If corrosion is present on the metal contacts inside the compartment, gently clean them with a cotton swab dipped in vinegar, then dry thoroughly.
4. Insert New Batteries Correctly
This part matters more than it should.
Match the polarity (+ and – symbols) exactly as shown inside the drawer. One backwards battery can stop the whole thing from working, even if the others are perfect.
5. Close the Compartment Until It Clicks
Slide the drawer back in or snap the door shut until you hear or feel a click. If it doesn’t fully close, the WetJet won’t power on.
6. Reinsert the Solution Bottle
Push it back in until it locks securely.
Test It Before You Start Mopping
Give the handle a squeeze. Listen closely.
- You hear a whirring motor sound but no spray? Your batteries are fine. The nozzle may be clogged.
- No sound at all? Double-check battery orientation and make sure the compartment is fully closed.
This quick test saves you from blaming the batteries when the real issue is something else.
Common Swiffer WetJet Battery Problems (And Fixes)
The Motor Runs but Nothing Sprays
This is usually a clogged nozzle, not a battery issue. Remove the solution bottle and rinse the spray opening with warm water.
Batteries Drain Too Fast
This can happen if the compartment doesn’t fully close or if battery contacts aren’t making solid contact. Re-seat everything and try again.
WetJet Still Won’t Turn On
At this point, it’s worth inspecting the battery contacts inside the handle. Bent springs or heavy corrosion can prevent power flow.
Final Thoughts
Once you know where the battery compartment is, changing batteries in a Swiffer WetJet takes less than two minutes. The first time is always the hardest—after that, it’s muscle memory.
If your WetJet suddenly quits mid-clean, don’t assume it’s broken. Nine times out of ten, fresh batteries (installed the right way) bring it right back to life. And honestly, that’s a lot better than mopping the old-fashioned way.